Create Ads from CSV
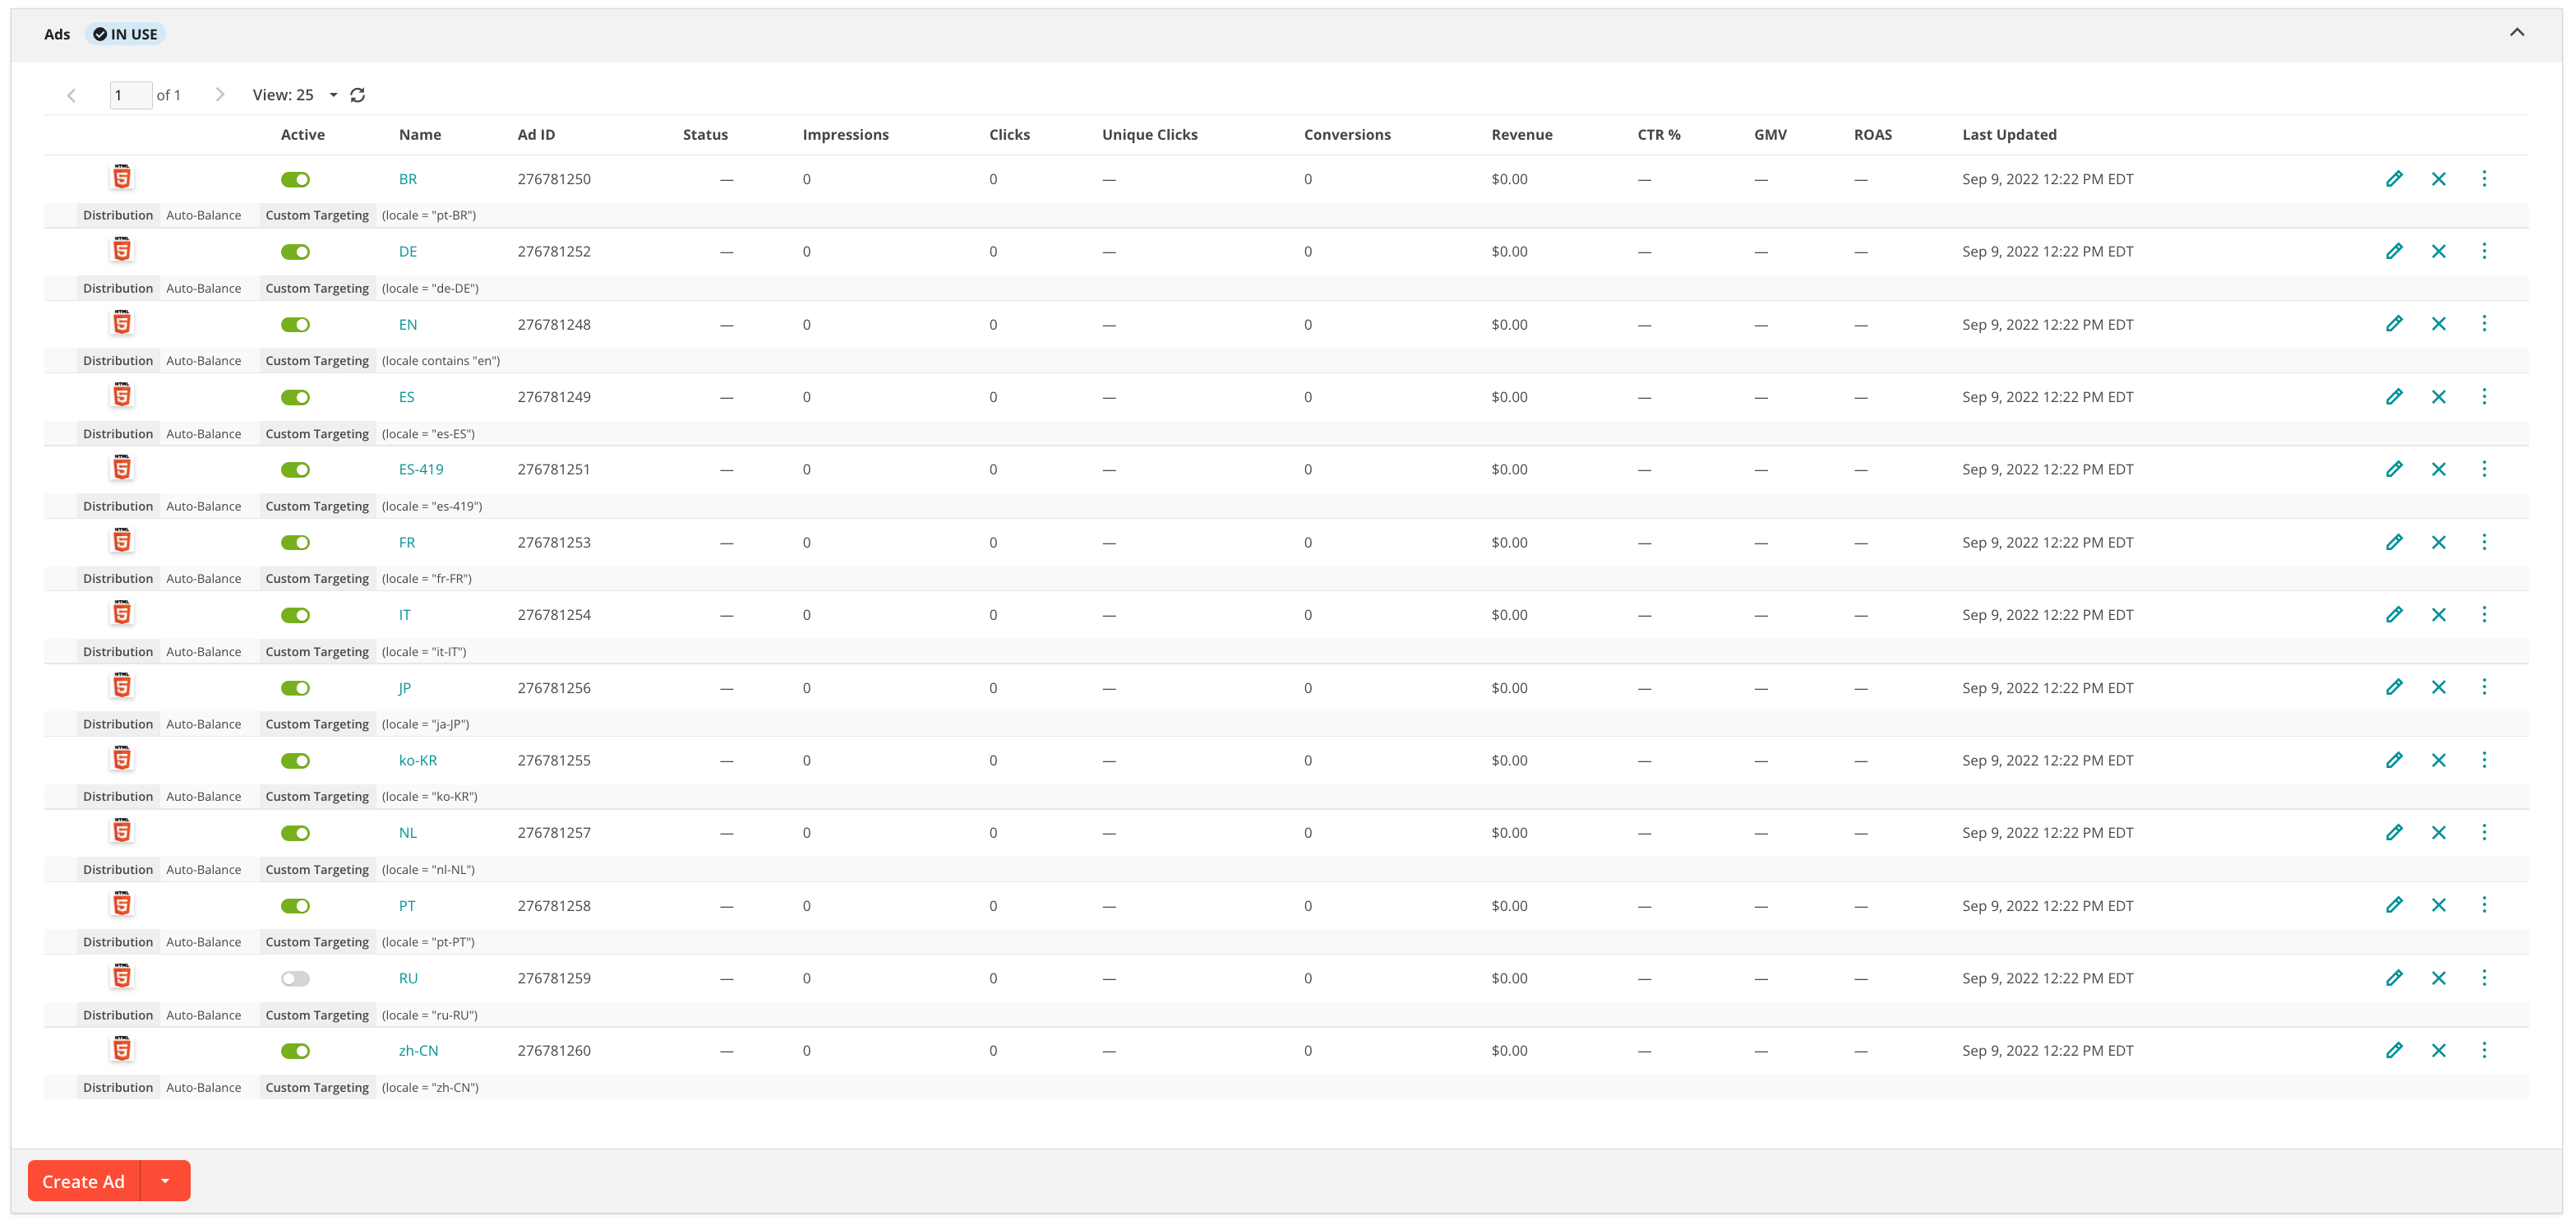
This guide walks you through how to create ads in bulk via uploading a CSV file to the Kevel UI. While you can create ads individually in the Kevel UI, or programmatically via the API, uploading a CSV file enables you to quickly upload several similar ads (for example, a global campaign localized to 18 languages).
Step 1: Prepare your file
Use a template file below (or edit an existing file) and fill all columns with the specific information corresponding to Creative and Ad settings fields. You can include additional columns, but these will be ignored. Additional columns may be useful, however, if you have an existing spreadsheet or derive Kevel-required values from a combination of columns using a formula or concatenation. Files can contain up to 100 rows.
Template Files
Supported Columns
The list in the table below outlines supported columns for Creative and Ad details. To learn more about acceptable values for each column, see the Creative and Ad API documentation pages.
| Column Name |
|---|
| Ad Size ID* |
| Active* |
| Title |
| Click URL |
| Alt Text |
| Script Body** |
| Metadata |
| External Image Link** |
| Keywords |
| Custom Targeting |
| Site ID |
| Zone ID |
| Creative Template ID |
| Creative Template Values [JSON string] |
| RTB Custom Fields [JSON string] |
*indicates required column
**One of these is required
Creative Template Values — Image Uploads
File fields in Creative Templates cannot be filled directly via a CSV. You can omit these fields from your CSV (even if they are required by the Creative Template) and Kevel will create Ads with values from the remaining fields. Once the Ads are created, UI users can edit the Ads individually to upload images.
Step 2: Upload CSV to a Flight
To upload a CSV file to a flight, you must first ensure you have a valid CSV files that can be uploaded. Once you are ready to upload a CSV to a flight, perform the steps listed below.
- Click on Create/Edit for the flight you want to use.
- Navigate to the Creatives panel and select the "Create Ads from CSV" button.
- Choose the Create Ads from CSV option from the dropdown menu. You will be then be prompted to upload your CSV file. Kevel scans the CSV file to ensure that the file has all of the required headers.
- After Kevel validates your file, you will see a confirmation dialog box, prompting you to confirm that you want to create ads.
- Once this process is completed, the Kevel UI provides feedback on how many ads were successfully created, and which rows in the CSV had errors (if any).


Updated 5 months ago
