
Decision API Quickstart
Overview
Below is an introduction to using the Decision API and its SDKs . The goal is to quickly create and display a server-side example ad.
For this tutorial, we'll use the Kevel UI to upload an ad. However, many of our users prefer the Management API and Management SDKs for programmatic campaign/ad creation.
Steps
Inventory Prep
Inventory refers to details about the ad placement (i.e., where the ad is appearing). Below are details of what you'll be using for this test:
| What | Default | ID |
|---|---|---|
| Network | Your company | In the UI, click the info icon ("i" in a circle) in the far upper right. |
| Channel | Use the "All Sites" default Channel | N/A (don't need) |
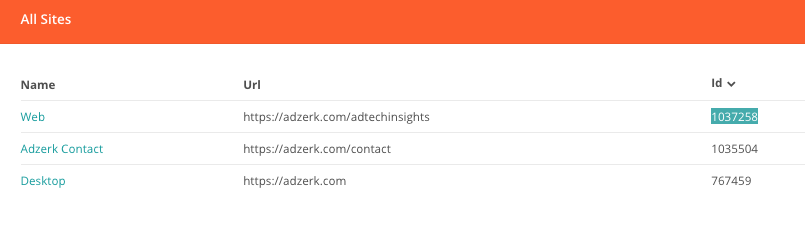
| Sites | Use the "Web" default Site | In the UI, go to Inventory --> Sites --> the ID is to the right of the site called 'Web' |
| Ad Type | We will use "Square Button" default | id=16 |
| Creative | Create a 125x125 image | N/A |
Ad Placement Prep
As this is an API quickstart, we will not be dealing with JavaScript tags. You'll need to connect to our APIs via JSON requests or Decision SDK calls .
-
Determine where you'll display the ad. While the creative image itself is 125x125, with metadata you can include a headline, ad copy, call-to-action, etc, all of which you can use to populate the ad.
-
Determine how you'll connect Kevel's Decision API Response with your CMS, app, or whatever system you use to insert content into your app/website. The API Response will be in JSON format. More info here
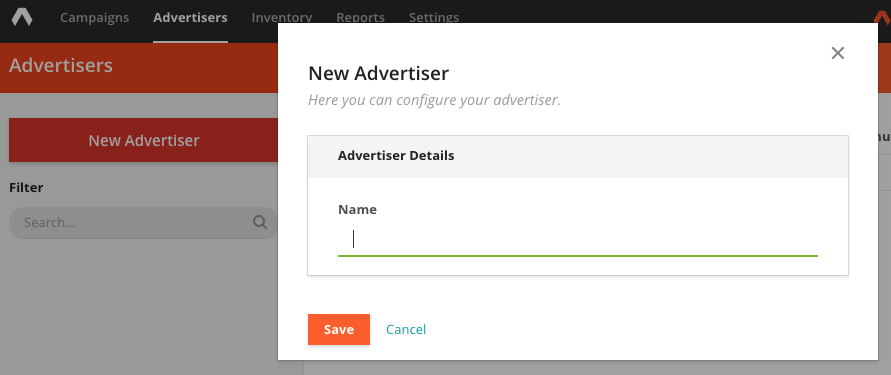
Create an Advertiser
- Click on Advertisers in top left --> All Advertisers
- Click New Advertiser
- Name it 'Test Account'
- Save
Create The Ad
This process involves completing a few steps in our Campaign hierarchy, including creating a Campaign, Flight, and Ad.
Step 1: Create Campaign
- Campaigns tab --> Campaigns
- Click New Campaign button
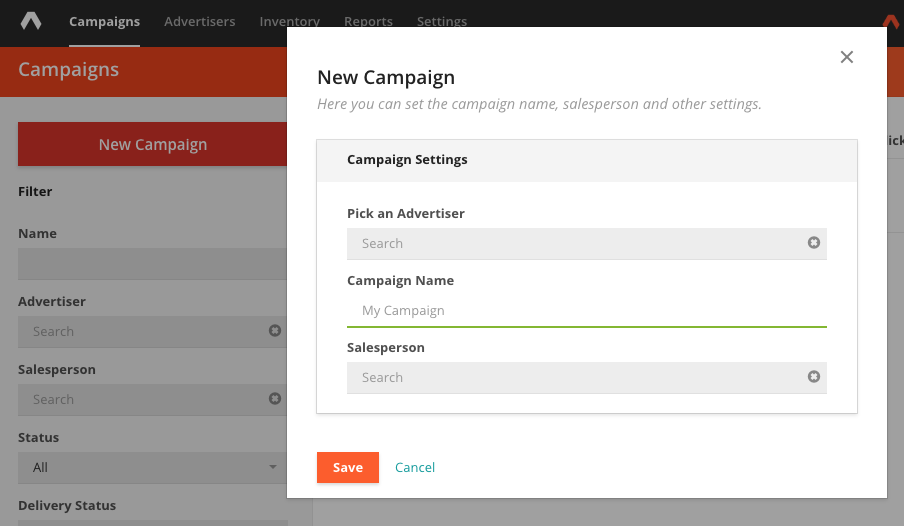
- Select the 'Test Account' as the advertiser
- Put in 'Test Campaign' as Campaign Name
- You can leave Salesperson blank
- Save
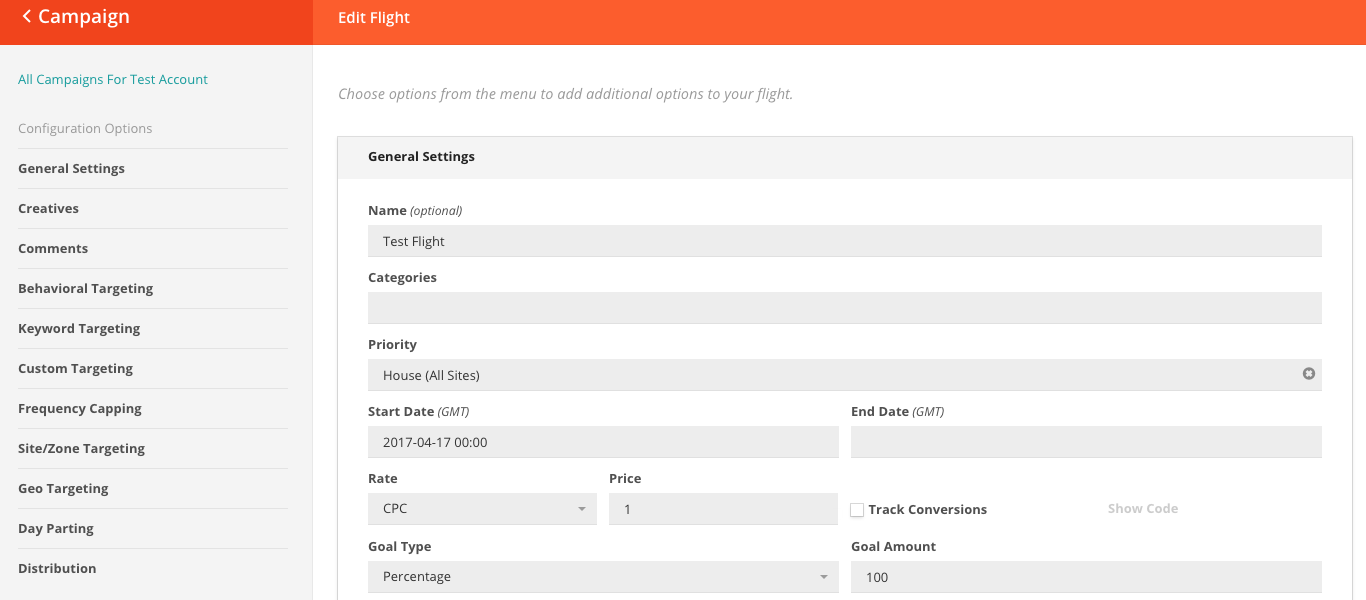
Step 2: Create Flight
- Click on the Campaign's name in the Campaigns tab
- Click the Add a Flight to this Campaign button in top left
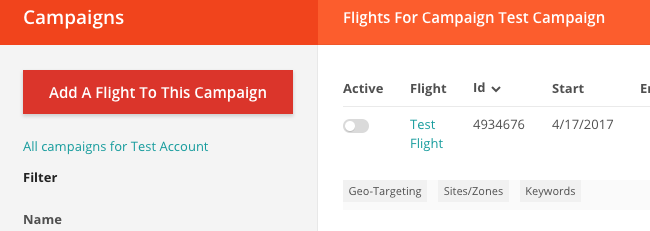
- Add in Flight Details. For now, we'll stick to only the required fields. Refer here for an overview of all Flight options.
| Field | What you should put |
|---|---|
| Name | Test Flight |
| Priority | House (All Sites). This is a default priority; refer here for more info on Priorities |
| Start Date | Use current time |
| Rate | CPC |
| Price | 1.00 |
| Goal Type | Percentage |
| Goal Amount | 100 |
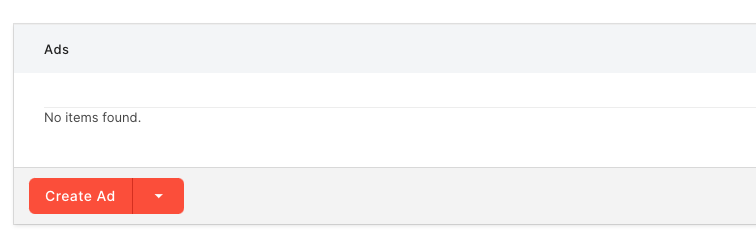
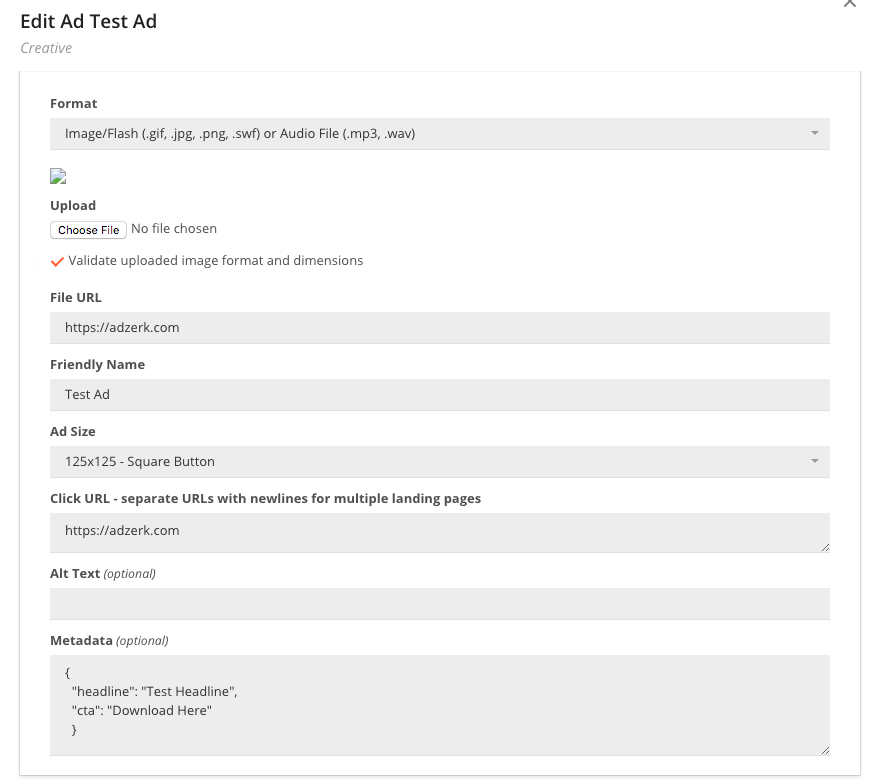
- Go to the Ads section and click Create Ad. See here for more details on the Creative/Ad options.
- Fill in the required fields with the below info
| Field | What you should put |
|---|---|
| Format | Image/Flash |
| Upload | Upload the 125x125 image |
| Friendly Name | Test Ad |
| Ad Size | 125x125 - Square Button |
| Click URL | https://adzerk.com (or whatever you'd like) |
| Metadata | Optional. Use if you have additional text/info you'd like to parse and place into the ad. Basically, anything you put here will be returned in the API Response, which you can then insert dynamically into your native ad. Format as JSON object, like: { |
-
Click Save
-
Once the Creative has been added to the Flight page, scroll down and click Save
You've successfully created an Ad in the Kevel UI! The next step is to ping the Decision API with information about the ad slot, parse the Response, and insert the information into your CMS.
Requesting an Ad for a Placement
You can use any of our Decision SDKs to make ad requests from your favorite programming language, or you make a POST request directly to the Decision API at https://e-<networkId>.adzerk.net/api/v2 and using the JSON payload below.
Note that networkId will be your own Network ID. You can log into Kevel UI & use the "circle-i" help menu in upper right corner to find your Network ID. All API and SDK actions require it.
{
  "placements": [
    {
      "divName": "div1",
      "networkId": "**Your Network ID**",
      "siteId": "**Your Site ID**",
      "adTypes": [16]
    }
  ]
}
# NOTE: Use your own network and site IDs!
export NETWORK_ID=23
export SITE_ID=667480
export AD_TYPE_ID=16
curl -H "Content-Type:application/json" \
-X POST \
-d "{
\"placements\":[{
\"divName\":\"div1\",
\"networkId\":${NETWORK_ID},
\"siteId\":${SITE_ID},
\"adTypes\":[${AD_TYPE_ID}]}
]}" \
"https://e-${NETWORK_ID}.adzerk.net/api/v2"import { Client } from '@adzerk/decision-sdk';
// NOTE: Use your own network and site IDs!
let client = new Client({networkId: 23, siteId: 667480});
let request = {
placements: [{adTypes: [16]}],
};
client.decisions.get(request).then(response => {
console.dir(response, {depth: null})
});import java.util.*;
import com.adzerk.sdk.*;
import com.adzerk.sdk.generated.ApiException;
import com.adzerk.sdk.generated.model.*;
import com.adzerk.sdk.model.DecisionResponse;
public class FetchAds {
public static void main(String[] args) throws ApiException {
// NOTE: Use your own network and site IDs!
Client client = new Client(new ClientOptions(23).siteId(667480));
Placement placement = new Placement().adTypes(Arrays.asList(16));
DecisionRequest request = new DecisionRequest()
.placements(Arrays.asList(placement));
DecisionResponse response = client.decisions().get(request);
System.out.println(response.toString());
}
}import adzerk_decision_sdk
# NOTE: Use your own network and site IDs!
client = adzerk_decision_sdk.Client(23, site_id=667480)
request = {
"placements": [{"adTypes": [16]}]
}
response = client.decisions.get(request)
print(response)require "adzerk_decision_sdk"
# NOTE: Use your own network and site IDs!
client = AdzerkDecisionSdk::Client.new(network_id: 23, site_id: 667480)
request = {
placements: [{ adTypes: [16] }],
}
pp client.decisions.get(request)(ns ad-request-sample
(:import (com.adzerk.sdk Client ClientOptions)
(com.adzerk.sdk.generated.model DecisionRequest Placement)))
(defn -main []
;; NOTE: Use your own network and site IDs!
(let [client (Client. (doto (ClientOptions. (int 23)) (.siteId (int 667480))))
request (doto (DecisionRequest.)
(.placements [(doto (Placement.) (.adTypes [16]))]))]
(print (-> client (.decisions) (.get request)))))import AdzerkSDK
// NOTE: Use your own network and site IDs!
DecisionSDK.defaultNetworkId = 23
DecisionSDK.defaultSiteId = 667480
let client = DecisionSDK()
let p = Placements.custom(divName: "div0", adTypes: [16])
client.request(placements: [p]) {response in
dump(response)
}Parsing the Response
- Refer here for the Decision API Response details. It'll look something like:
{
  "decisions": {
    "div1": {
      "adId": 111,
      "creativeId": 222,
      "flightId": 333,
      "campaignId": 444,
      "clickUrl": "https://e-1234.adzerk.net/r?...",
      "contents": [
        {
          "type": "html",
          "template": "image",
          "data": {
            "imageUrl": "https://static.adzerk.net/xxx.jpg",
            "title": "Test Ad",
            "width": 125,
            "height": 125,
            "customData": {
                 "headline": "Test Headline",
                 "cta": "Download Here"
            }
          },
          "body": "<a href='...'><img src='https://static.adzerk.net/Advertisers/xxx.jpg' title='Test Ad' width="125" height="125"></a>"
        }
      ],
      "impressionUrl": "https://e-1234.adzerk.net/i.gif?..."
    }
  },
  "user": {
    "key": "ad39231daeb043f2a9610414f08394b5"
  }
}This may look like a lot! But for the test, the only fields that will matter are
clickURL,imageURL,impressionURL, and any custom JS in thecustomdatasection (the metadata section).
-
Insert the relevant, parsed information into your CMS or app. Make sure that
a. The impression URL is fired at time of impression
b. The click event hits the Click URL
c. The image pulls from the Image URL -
Display and then click on the ad for tracking purposes
Reporting
- Go to Reports in the UI
- Run a report and see your impression and click!
Updated 8 months ago